Weather Settings
Configure weather information for your dashboard:
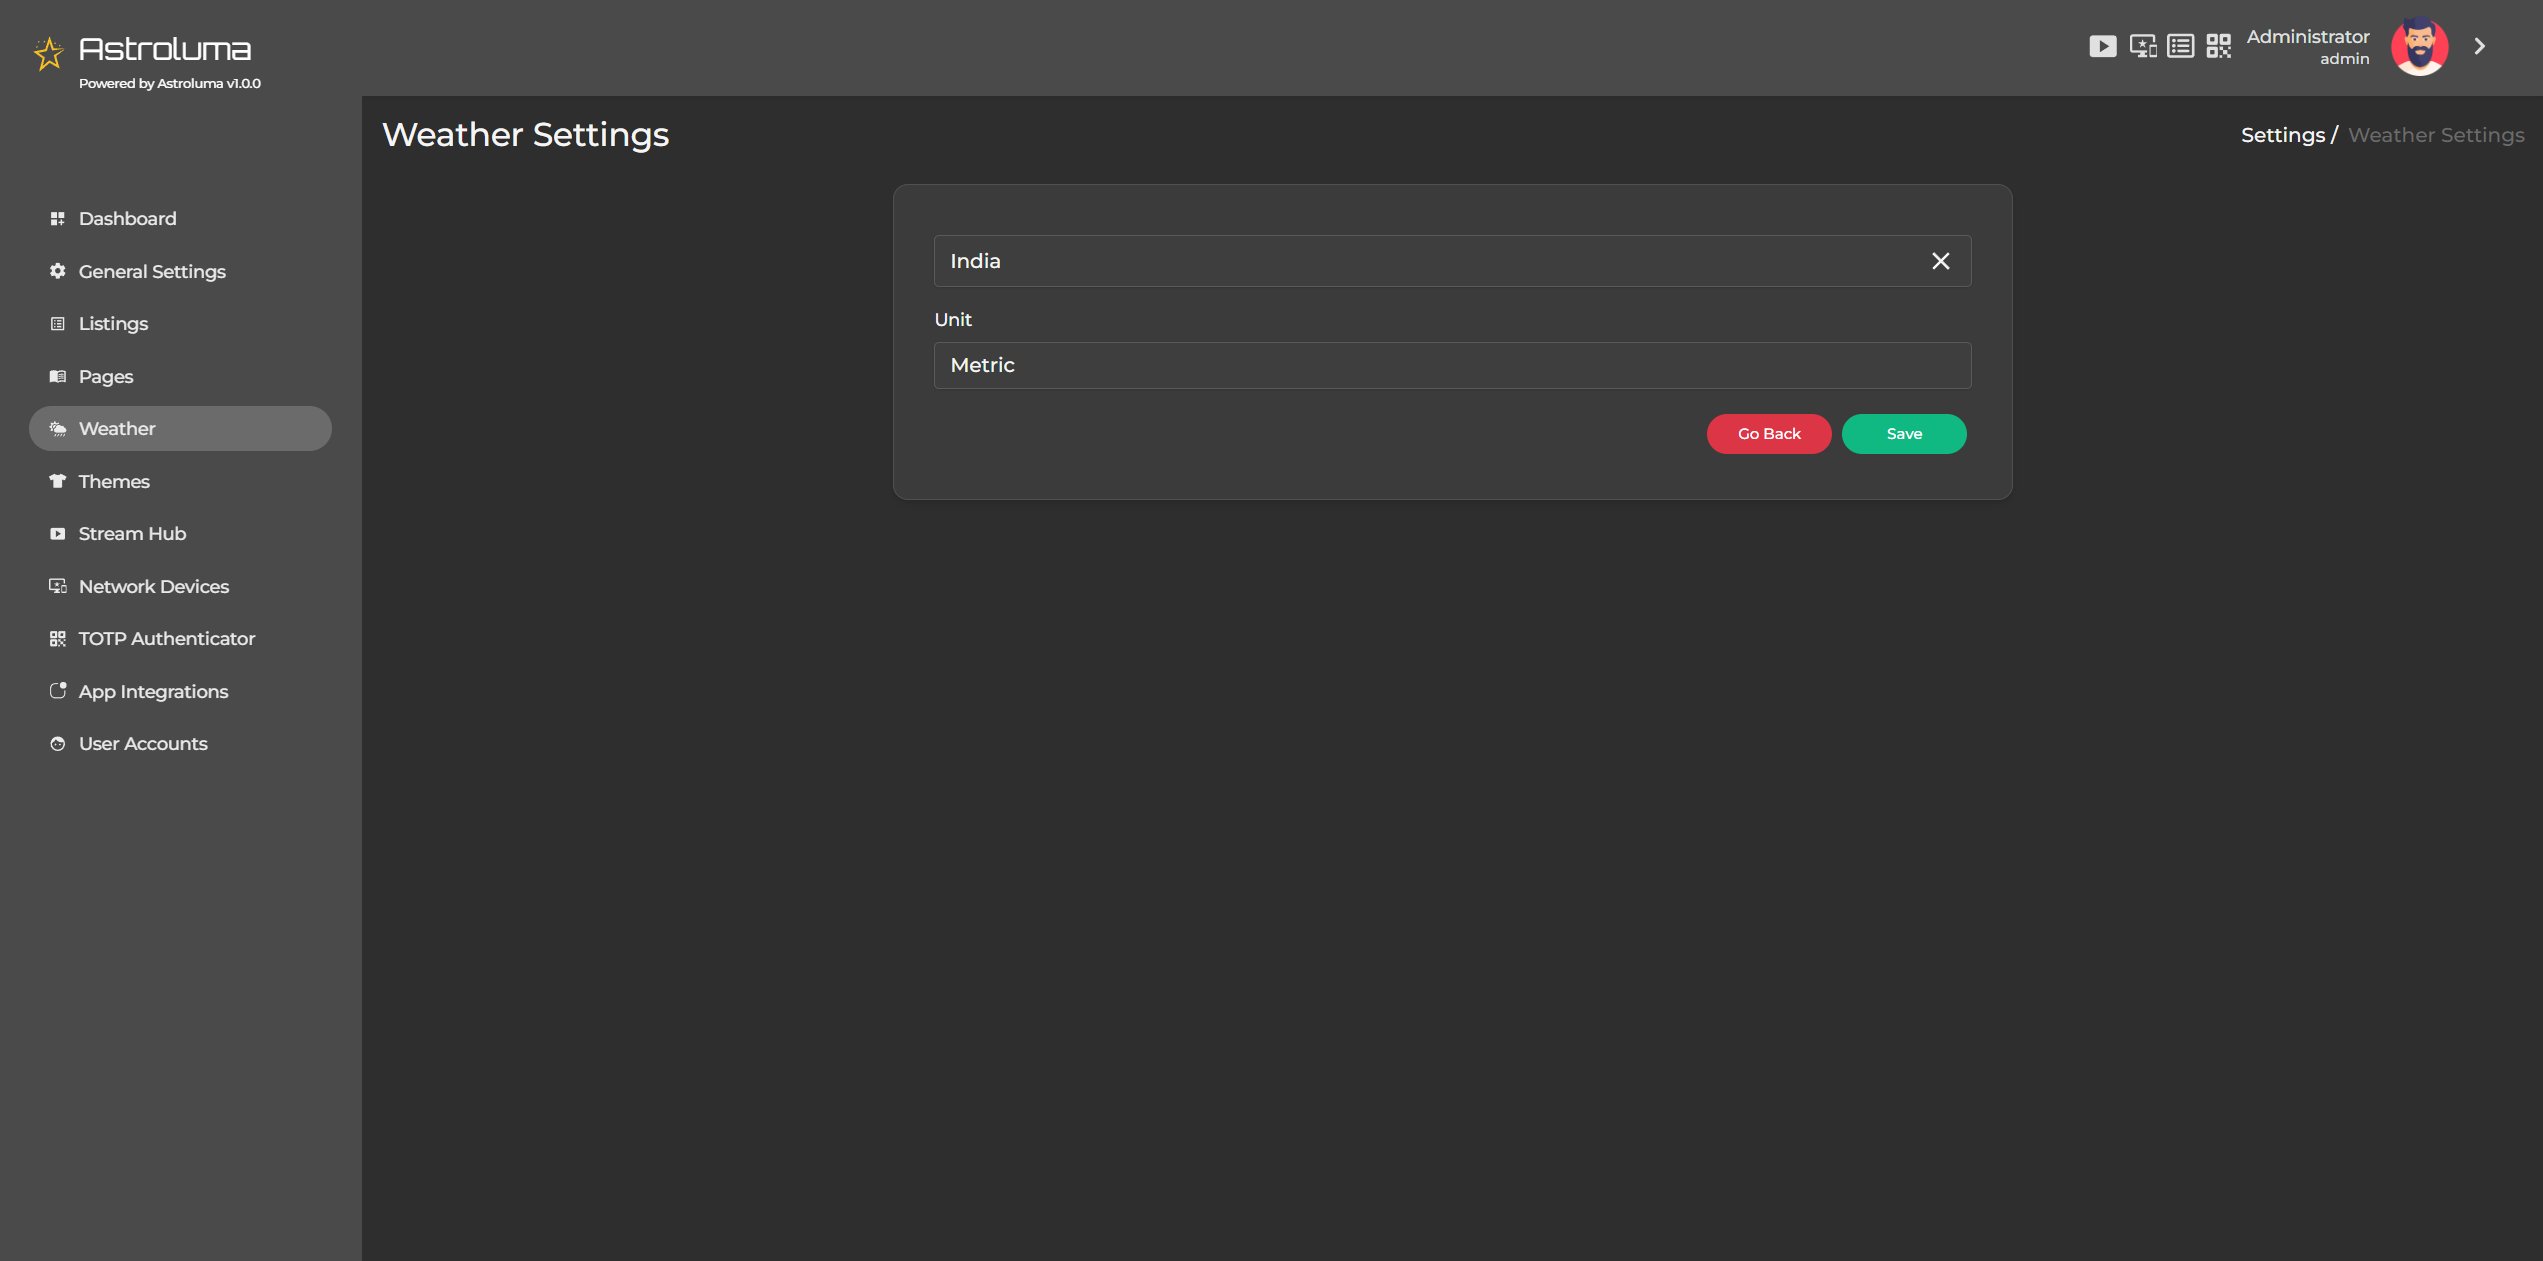
- Navigate to "Settings" > "Weather Settings".
-
In the form, you'll need to configure:
- Location: Enter your city or location name
- Units: Choose between "Metric" (Celsius) or "Imperial" (Fahrenheit)
- Latitude: Enter your latitude coordinates
- Longitude: Enter your longitude coordinates
-
You can click "Detect My Location" to automatically populate the coordinates based on your browser's location (requires location permission).
-
Click "Save" to apply your weather settings.
-
The weather information will appear on your dashboard in the designated area.
Available Options
Select Location
Choose the city or area for which you want to display weather information.
Select Unit
Define the unit of measurement for weather data:
- Metric: Default option (Celsius for temperature, meters/second for wind speed).
- Imperial: Alternative option (Fahrenheit for temperature, miles/hour for wind speed).
Changing Location
-
Locate the current selected location in the Weather Settings panel. Click the "X" icon at the far right of the selected location to remove it. This will bring back the "Select a location" button.
-
Click the "Select a location" button to open the "Select Location" modal box.
-
In the modal box: Enter the city name or zip code in the search bar. Matching locations will appear in a list below.
-
Click the "Select" button next to your desired location.
Saving Changes
Once the location is selected and the desired unit is chosen (Metric or Imperial), click the Save button. The dashboard will now display weather information for the selected location on the Apex Home featured page.
Notes
You can update the location or unit at any time by repeating the steps above. Ensure you click Save after making any changes to apply them to the dashboard. This functionality lets you keep track of weather updates for any location, tailored to your preferred unit of measurement, ensuring a seamless and personalized experience.